Social networking sites like Facebook has a big role in the success of businesses, celebrities and talented people. One of the great feature of the site is the Facebook Page, which allow their user to create an online presence for their business, organization, product, community and artist or public figure.
Having this feature you can create a closer relationship with your audience and customers. Creating a Facebook page is easy and takes up only a few minutes to setup, all you need is a Facebook account.
Follow these simple steps to create Facebook page and start building your audience.
Step 1: Go to this link www.facebook.com/pages/create or click the inverse triangle located at the top right of your screen to reveal the drop-down menu where you can click “Create Page” link.

Step 2: In the create page window, select which category your page belongs.
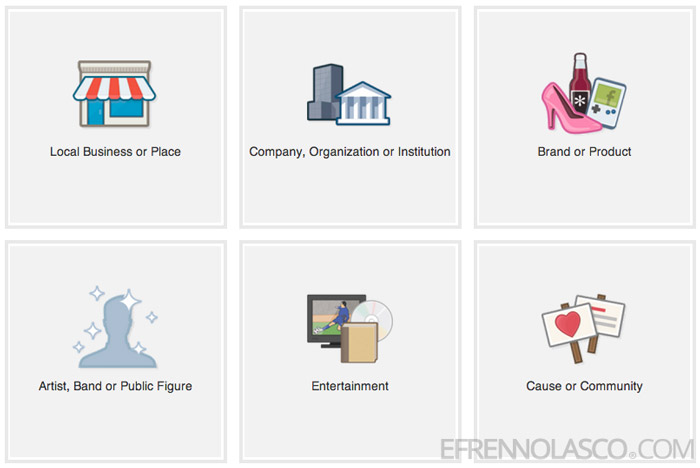
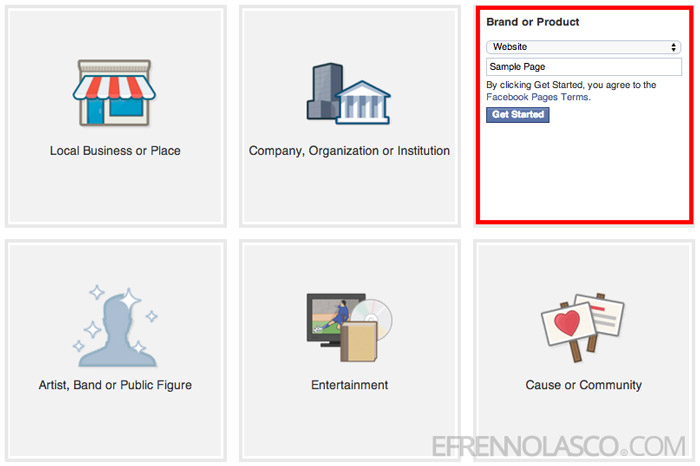
Step 2: The second step will depend in on the category you choose in step one, if you choose Local Business or Place, you will need to enter the Business or Place name, Address, Zip and Phone number, if you choose a different category you only need to choose the subcategory and entering the name then click “Get Started” Button. In this sample I will choose a Brand or Product.
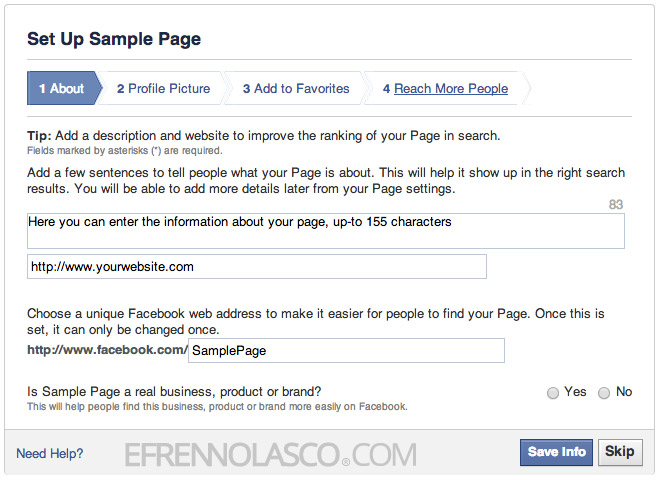
Step 3: When you click Get Started button, a 4 steps setup window will appear, first step is About where you can enter the information about your page. After you enter the information about your page, you can now click Save Info or skip to enter later.
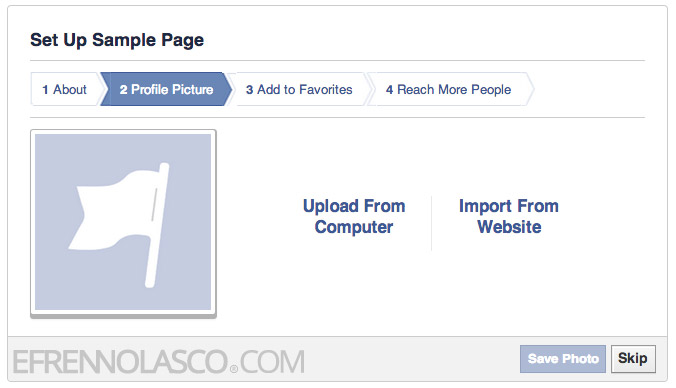
Step 4: Next step is to upload the profile picture of your page, you can upload the picture from your computer or import from other website.
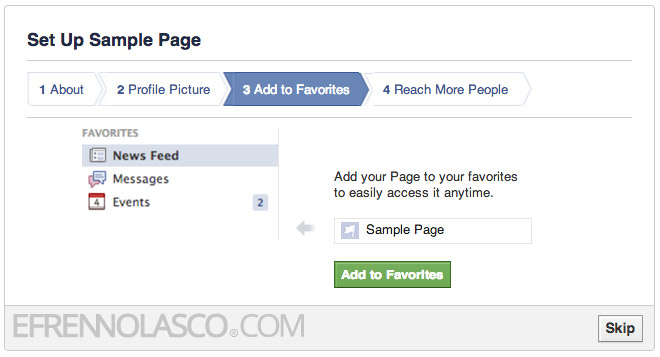
Step 5: Next, you can add your page to favorites or just skip this step
Step 6: The fourth and final step is to create an ad for your page to get more likes, but this is optional if you don’t want to pay to promote your page you can skip this step.

That’s it your Facebook page is now created, you can now customize your page by adding cover or start promoting it to your family and friends to start building an audience.