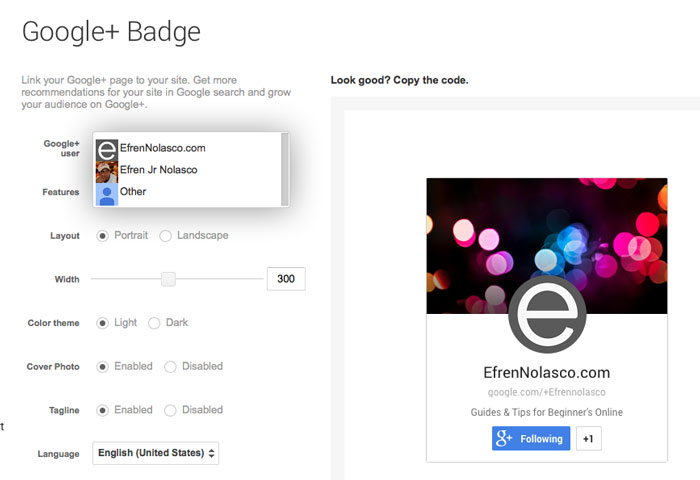
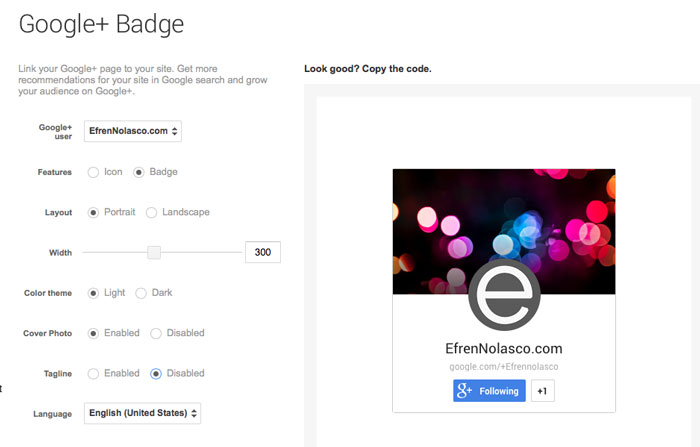
The Google Plus badge is like a Facebook like a box where your readers can easily click follow button to follow you or your Google Plus page if you put it on your sidebar or anywhere on your post. Once your reader, follow your Google plus account you can easily reach them, they can easily see your updates when you post to your Google Plus page or account.
As a blogger or site owner having Google plus account is a must, it will help you gain more quality backlinks from Google when you share your post to your Google plus account. Unlike on Facebook when you share, you will not gain any backlinks.
To create Google Plus badges, follow the instructions below.
- Go to Google developers page where you can customize your Google badge, make sure that you sign in.
- Select Google Plus user to setup, either your Google Profile or your blog page.

- After you have selected the Google Plus account that you want to set up or create a Google badge, on the same page you can customize the layout, color, width, etc. To blend on the page where you want to show your badge.

- While customizing the look, you will see the preview on the right side, if you’re satisfied, copy the code snippet and paste it where it want to be placed, the code is two parts, it’s also properly labeled, just follow the instructions in the code. Place the upper code in the header or inside the <head> tag and the other part is where you want to render your badge.

That’s it, you are now successfully added Google plus badge on your page or blog. Please share if you find it helpful.


