Blogger is a free blog-publishing service owned by Google Inc., one great platform if you want to publish free blog. By default, if you create a blog or a website with blogger your site URL is only a subdomain of blogspot.com (e.g. yourdomain.blogspot.com) which is kind a ugly and unprofessional.
If you want to make your blog personalize or make look professional you can buy your own custom domain with a domain registrar like Godaddy and a link to your blogger blog.
So, how you can setup custom domain name on blogger? This article will show you step by step procedure how to setup custom domain name to your blogger blog.
- First, you need to buy a domain name, which is relevant to your blog topic or niche, you can buy to any domain registrar available but for this tutorial I will use Godaddy. If you don’t know how to buy, you can check this post “How to buy a domain name in Godaddy“. Disclaimer! We are not affiliated or whatsoever in Godaddy.
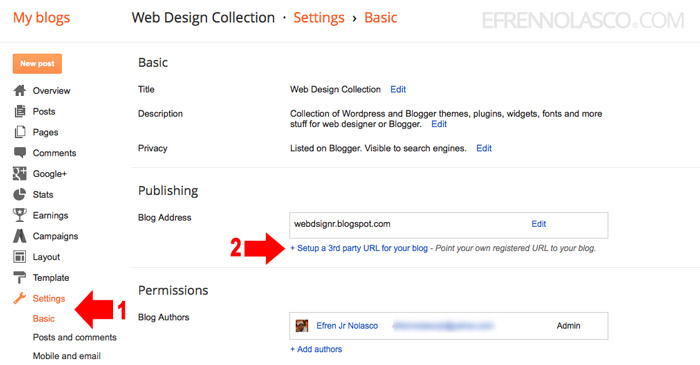
- Go back to your blogger account, go to basic settings, then click on “Setup a 3rd party URL for your blog” link, see the screenshot.
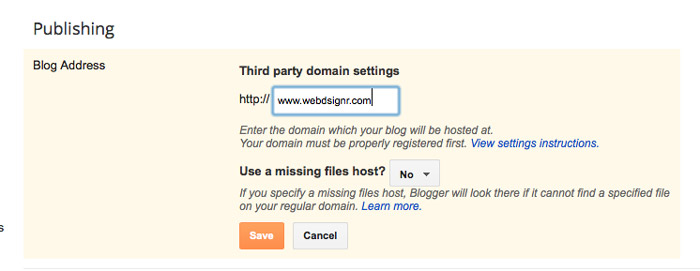
- Enter the domain name that you buy earlier in the text box provided then click save.
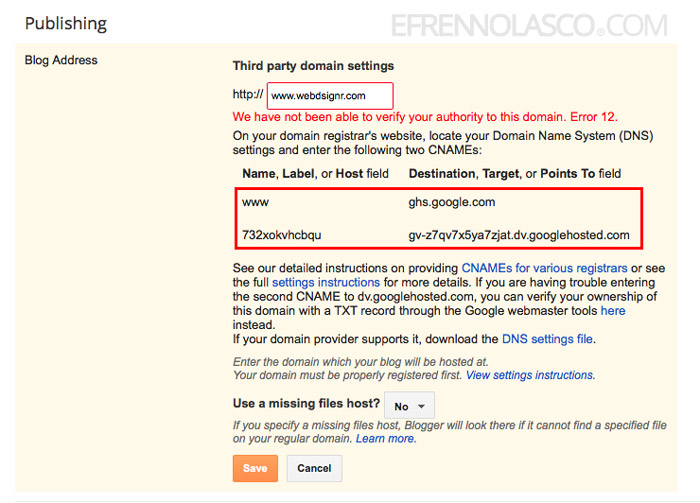
- After you click save button, you will encounter an error message “We have not been able to verify your authority to this domain”. Copy the CNAME records provided, see the highlighted screenshot.
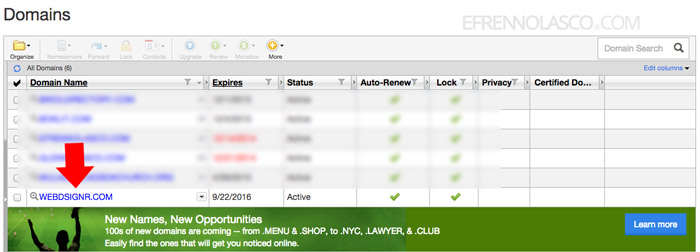
- Go back to your Godaddy account => Domain then click on the domain that you want to setup. See the screenshot.
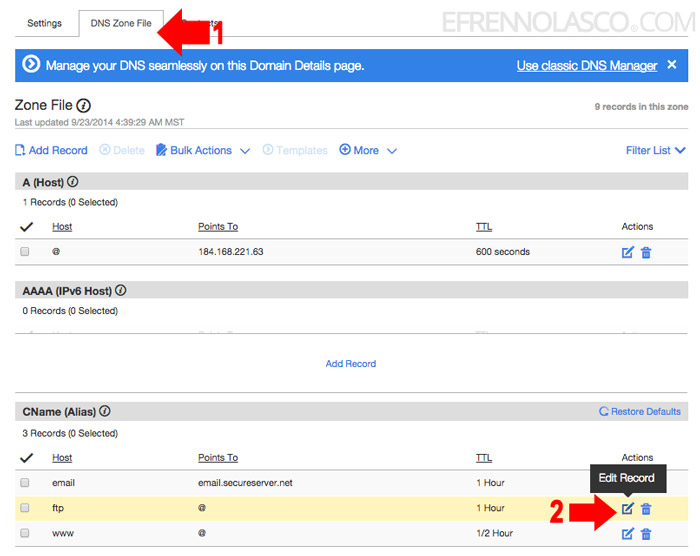
- Click on the “DNS Zone File” tab then go down to CNAME (Alias) section, edit the ftp field first.
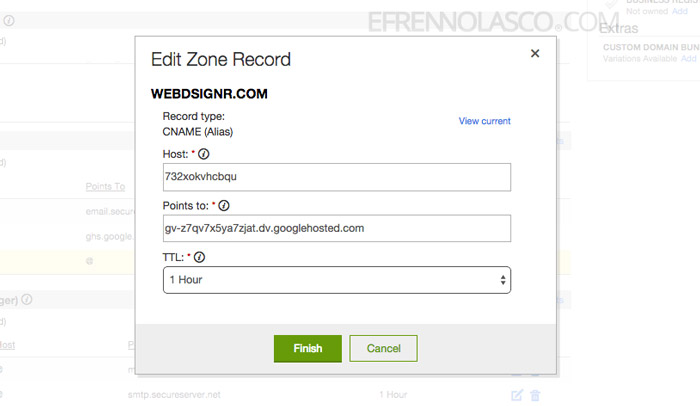
- On the popup window, enter the short token in the “Host” field and the long token in the “Points to” field, leave the TTL to 1hr then click “Finish”, see screenshot.
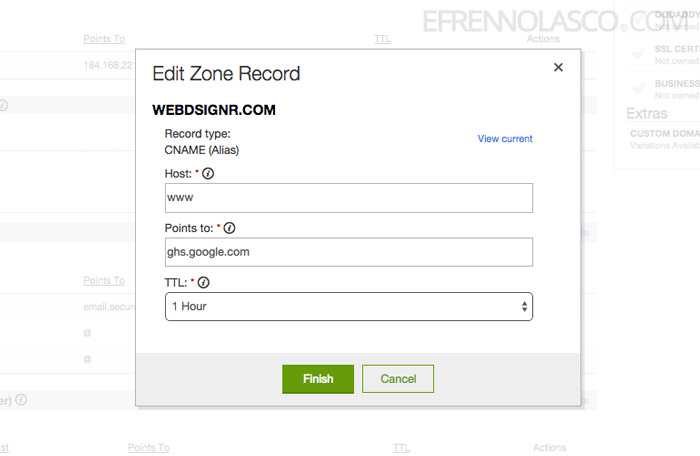
- Next, edit ‘”www” field on the CNAME (Alias) section
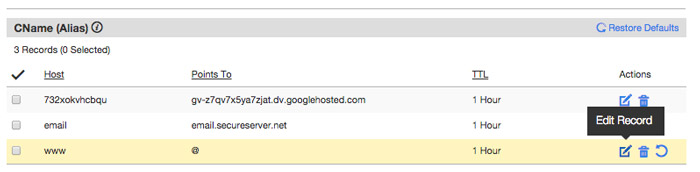
- On the popup window, enter www in the “Host” field and ghs.google.com in the “Points to” field, leave the TTL to 1hr then click “Finish”, see screenshot.
- Now that you enter the CNAME records, you need to save all the changes that you make, a red notification bar on the top will appear, click “Save Changes”

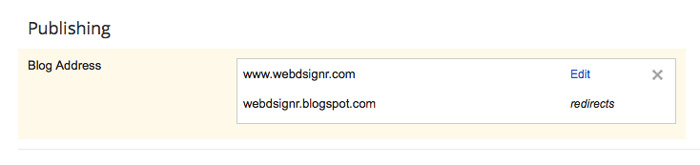
- All the settings you need to setup on your domain registrar are all set, go back to step 3 of this tutorial to save and completely attached to your new custom domain in your blog. Your .blogspot.com domain will automatically redirected to the new custom domain. Enjoy!